Doggo is a versatile command-line DNS client designed for modern DNS needs. It supports various DNS transport protocols such as DNS over HTTPS (DoH), DNS over TLS (DoT), DNS over QUIC (DoQ), and DNSCrypt. With a focus on simplicity and efficiency, Doggo provides human-readable and JSON output, making it ideal for both casual users and developers. It’s cross-platform, supporting Linux, macOS, Windows, and BSD systems. This article will guide you through the installation process on different operating systems and provide examples of how to use Doggo.
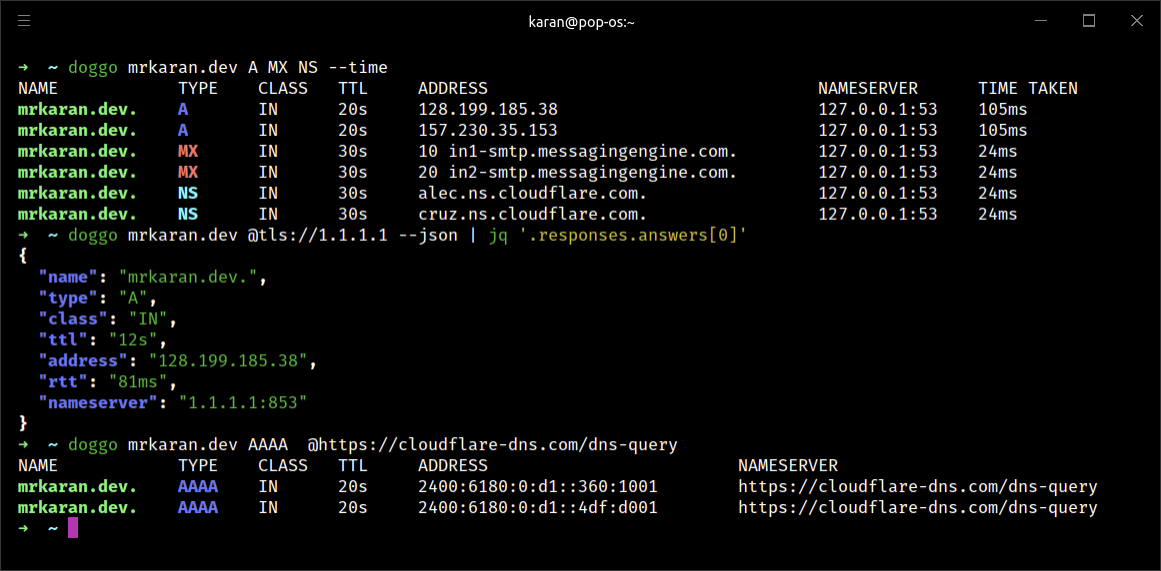
Table of Contents
1. Installation
Windows
- Download the Binary: Go to the Doggo GitHub releases page and download the latest Windows binary.
- Extract the Binary: Extract the downloaded zip file to a directory of your choice.
- Add to PATH: Add the directory containing the
doggo.exeto your system PATH. - Verify Installation: Open Command Prompt and run:
doggo --version
macOS
- Using Homebrew:
brew install doggo
- Manual Installation:
- Download the latest macOS binary from the GitHub releases page.
- Extract and move the binary to
/usr/local/bin. - Verify the installation:
doggo --version
Linux
- Using Package Manager:
- For Debian-based distributions:
sudo apt install doggo
- For Red Hat-based distributions:
sudo dnf install doggo
- For Debian-based distributions:
- Manual Installation:
- Download the binary from the GitHub releases page.
- Extract and move the binary to
/usr/local/bin. - Verify the installation:
doggo --version
2. Usage Examples
- Basic DNS Query:
doggo example.com
- Query with Specific DNS Server:
doggo example.com @1.1.1.1
- Reverse DNS Lookup:
doggo -x 8.8.8.8
- Query with JSON Output:
doggo example.com -j
- Query DNS over HTTPS:
doggo example.com --doh
- Query DNS over TLS:
doggo example.com --dot
- Query DNS over QUIC:
doggo example.com --doq
- Use Multiple DNS Servers:
doggo example.com @1.1.1.1 @8.8.8.8
- Specify Record Type (e.g., MX records):
doggo example.com -t MX
- Enable Verbose Output:
doggo example.com -v
- Specify Query Timeout:
doggo example.com --timeout 5
- Query DNSCrypt:
doggo example.com --dnscrypt
- Shell Completions:
doggo completion bash | sudo tee /etc/bash_completion.d/doggo
- Web Interface:
doggo serve
- Help and Usage Information:
doggo --help
3. Conclusion
Doggo is a powerful and flexible DNS client that caters to a variety of needs with support for multiple DNS protocols and output formats. Its cross-platform compatibility ensures that users on Windows, macOS, and Linux can all benefit from its features. By following the installation steps and using the provided examples, you can leverage Doggo to enhance your DNS querying capabilities. Whether you’re a developer, network administrator, or casual user, Doggo offers a robust solution for DNS resolution.